 TheGameHosting Team
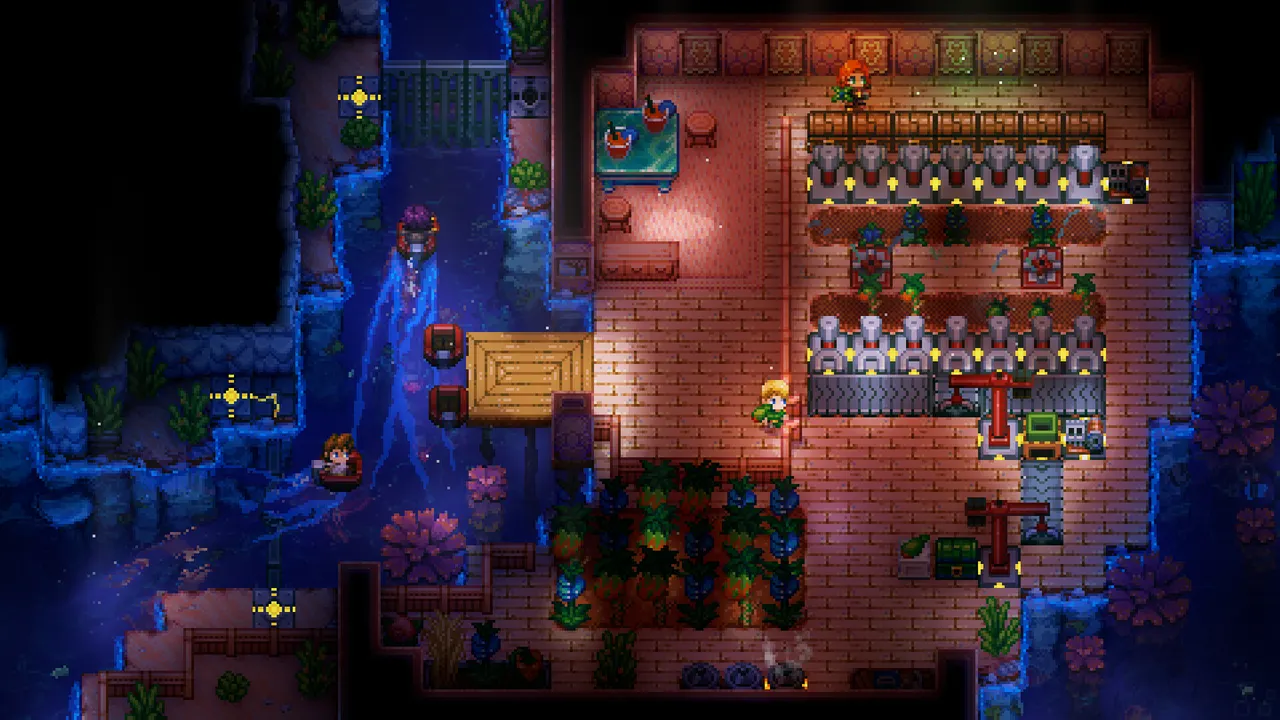
A Core Keeper server setup comes down to four things: the dedicated server itself (Steam app 1963720, which downloads without a login), a handful of launch arguments for the world, a way for your friends to connect, and a machine that stays on. Steam players join with a Game ID and need no open ports; players on Epic, GOG or the Microsoft Store need direct connections with an IP, port and password. Everything below comes from the README and ARGUMENTS files that Pugstorm ships with the server.
How joining a Core Keeper dedicated server works
Decide this first, because it changes the setup. The server has two ways to accept players:
| Method | Who can join | Open port needed | What players enter |
|---|---|---|---|
| Game ID (default) | Steam players | No: it goes through the Steam relay network | The Game ID |
Direct connection (-port) | Steam, Epic, GOG and Microsoft Store players | Yes: open in the firewall and forwarded in the router | IP, port and password |
Cross-store play arrived in patch 1.1.2.3 (August 2025), as Pugstorm announced in its Steam news. The README adds a warning worth repeating: with direct connections, the server’s IP is shared with players and the players’ IPs with the server. If everyone in your group plays on Steam, the Game ID route is simpler.
Core Keeper server setup: install the server
You can install “Core Keeper Dedicated Server” from your Steam library, or download it with SteamCMD. The official README gives this line, and no Steam account is needed:
steamcmd +login anonymous +app_update 1963720 +quitThings the README tells you before the first start:
- The server comes with a launch script. On Linux,
_launch.shstarts it inside Xvfb so it can run on a machine without a monitor. - If you start
CoreKeeperServerby hand, add-batchmodebut not-nographics: part of the world generation runs on the GPU. - On start, the server writes
GameInfo.txtnext to the executable with the Game ID and the connection details. If that file never appears, openCoreKeeperServerLog.txtin the same folder and look for the error.
Core Keeper server config: the launch arguments
Every setting is a launch argument, documented in ARGUMENTS.txt. These are the ones you will actually use:
| Argument | What it does | Values and limits |
|---|---|---|
-world | Which save slot the server loads | 0 to 29 |
-worldname | Name players see | Text; quotes if it has spaces |
-worldseed | Seed for world generation | Any text; only applies when the world is created |
-worldmode | World mode | Normal (default), Hard, Creative, Casual |
-maxplayers | Player limit | 8 if omitted |
-gameid | Fixed Game ID | 15 to 28 letters and numbers, without Y, y, x, 0 or O |
-password | Password for direct connections | Up to 28 characters; random if omitted |
-port | Turns on direct connections | Port number; 27015 for LAN |
-ip | Local IP to bind (only with -port) | 0.0.0.0 by default; IPv6 works |
-allowonlyplatform | Only one store may join (only with -port) | Steam, Epic, Microsoft, GOG |
-season | Forces a seasonal event | None, Easter, Halloween, Christmas, Valentine, Anniversary, CherryBlossom, LunarNewYear |
-datapath | Where saves and config live | Defaults to a DedicatedServer folder in the Core Keeper save location |
-activatecontent / -activateallcontent | Turns on content bundles for this world | Permanent: there is no undo |
Two limits from the official docs catch people out. Switching a world between Creative and the other modes after it is created is not supported, so choose the mode before the first start. And content bundles stay on forever once activated, so make a copy of the world before you use -activatecontent.
Here is a typical launch line for a Steam-only server with a fixed Game ID, so the code you give your friends never changes:
-batchmode -world 0 -worldname "Our Cave" -worldmode Normal -maxplayers 8 -gameid WH3rhzuk5TfbA4jFuZPg7SmbCHESAdd -port 27015 -password "YourPassword" only if you need players from other stores.
ServerConfig.json
Most arguments are also saved in ServerConfig.json inside the server’s data path, so you can edit them there instead of in the launch line. The exceptions are -port and -ip: the official docs say setting them in ServerConfig.json has no effect. Stop the server before editing the file, then start it again.
How your friends connect
Open GameInfo.txt. It lists the Game ID, the platforms allowed to join, any arguments the server ignored, and, when -port is set, the local and public IPs, the port and the password. It also includes a ready-made IP;PORT;;PASSWORD string: players paste it into the IP field of the “Join Game Via IP” menu and the game splits it into the right fields.
- Steam players: join with the Game ID. The password is not used with the Game ID, because the ID alone already grants access, so treat it like a password and don’t post it publicly.
- Epic, GOG and Microsoft Store players: use “Join Game Via IP” with the IP, port and password.
Using your own world settings
The dedicated server has no world-generation menu. The README’s workaround: create a world in the normal game with the parameters you want, find its file in the worldgenparams folder of your save, copy it into a worldgenparams folder in the server’s data path, rename it to the world index you will use and start a new world on that index. For the exact same map, use the same seed too. If you have mods, every player needs the same ones installed, as Pugstorm reminded when cross-store play launched.
Common problems and what they mean
- The Game ID changes after every restart. You did not set
-gameid, or the value was invalid (too short, too long or with a forbidden character), so the server generated a random one.GameInfo.txtlists arguments it ignored. - Non-Steam friends can’t find the server. A Game ID only works in the Steam client; Pugstorm renamed it “Steam GameID” in patch 1.1.2.4 to make that clear. Other stores need
-port. - Direct connection times out. The port is not open in the firewall or not forwarded in the router. IPv6 addresses are accepted since patch 1.1.2.4.
- The server closes right after starting. Read
CoreKeeperServerLog.txt. Since patch 1.0.0.14 the log explains when the GPU or graphics driver lacks a required feature.
Skip the setup: Core Keeper on TheGameHosting
The weak spot of a home server is that the world only exists while that PC is on. If the host goes to sleep, nobody can go back to the base. A Core Keeper server from TheGameHosting is online 24/7 and is ready about 60 seconds after payment. You read GameInfo.txt and edit ServerConfig.json from Files in the browser (or over SFTP), restart from Console, keep copies of the world in Backups before you activate content bundles, and use Schedules for automatic restarts. To see which options the panel exposes for this game, look at the Startup tab, or ask us in the chat.
Core Keeper is light: it needs 2 GB of RAM on our plans, and the 2 GB plan costs $1.90/month. It runs on AMD Ryzen 9950X and 7950X3D CPUs up to 5.7 GHz with DDR5, Samsung NVMe and a 10 Gbps network with DDoS protection, in Dallas or Amsterdam. If your group gets bored of the caves, the Game Changer switches the same plan to another of our 60+ games, such as the survival worlds in our guide to Enshrouded server settings.
Step-by-step summary
- Install the server from Steam Tools or with
steamcmd +login anonymous +app_update 1963720 +quit. - Pick the mode and name with
-worldmode,-worldnameand-worldbefore the first start. - Set a fixed Game ID with
-gameid(15 to 28 characters, no Y, y, x, 0 or O). - Add direct connections with
-portand-passwordonly if players use other stores, and open that port. - Start the server with
-batchmodeand wait forGameInfo.txt. - Share the connection: Game ID for Steam, the
IP;PORT;;PASSWORDstring for everyone else.
If you would rather spend the evening digging than reading README files, a hosted server is the shortcut. See TheGameHosting plans and pricing: Core Keeper fits in the 2 GB plan ($1.90/month), with unlimited slots, no setup fee and cancellation any time. And if you are still deciding whether you need one, read what a dedicated server is.
FAQ
How do I set up a Core Keeper dedicated server?
Install app 1963720 with SteamCMD (anonymous login) or from Steam Tools, start it with -batchmode and your world arguments, then share the Game ID from GameInfo.txt. Add -port and -password for players outside Steam.
Where is the Core Keeper server config?
Settings are launch arguments listed in ARGUMENTS.txt, and most of them are also saved in ServerConfig.json in the server’s data path. -port and -ip only work as launch arguments.
Do I need to open ports for a Core Keeper server?
Not for Steam players: the Game ID uses the Steam relay. You only open a port when you enable direct connections with -port so Epic, GOG or Microsoft Store players can join.
How many players can join a Core Keeper server?
The server defaults to 8 players. You can change it with -maxplayers; Pugstorm notes that more players may need more server resources.
Can Epic or Microsoft Store players join a Steam dedicated server?
Yes, since patch 1.1.2.3, if the server uses direct connections. They join with the IP, port and password from GameInfo.txt. -allowonlyplatform can limit the server to one store.
Hosting for these games
 Core Keeper hosting2 GB from $1.90/mo · online 24/7
 Terraria hostingAnother co-op digging favorite
 Valheim hostingCo-op survival and building
Written by TheGameHosting Team, the people who run our servers in Dallas and Amsterdam and answer your tickets.
All posts