 TheGameHosting Team

To set up a Project Zomboid dedicated server, install the free Project Zomboid Dedicated Server (Steam app 380870) with SteamCMD, run its start script once to set an admin password, edit servertest.ini and open UDP ports 16261 and 16262. You can also rent a server that is already installed and ready in 60 seconds.
Dedicated server or the Host button?
Project Zomboid offers two ways to play with friends:
- The Host button runs the world from your own copy of the game. It works for a quick session, but the world closes when you log off, and everyone lags when your upload stutters.
- A dedicated server runs the save on its own machine, so the world stays online around the clock. Your friends can loot Muldraugh at 3 a.m. without waiting for you, and your PC is free to just play.
If you want the world to stay up, you want a dedicated server. There are two ways to get one: run it yourself, or rent one.
Option 1: run the dedicated server yourself
This follows the PZwiki Dedicated server page. The steps are the same on a Windows PC or a Linux machine.
Step 1: install the server with SteamCMD
The dedicated server is a free tool on Steam with app ID 380870. You log in to SteamCMD as anonymous, so you do not need to own the game on the server machine. On Linux, the wiki's example installs to /opt/pzserver/:
./steamcmd.sh +force_install_dir /opt/pzserver +login anonymous +app_update 380870 validate +quitOn Windows, use the same +app_update 380870 validate line with your own install folder.
Step 2: start it once and set the admin password
From the install folder, start the server. On Linux you run the start script. On Windows you run StartServer64.bat.
bash start-server.shThe first time it starts, the server asks you for an admin password. This creates your default admin account, called admin. You can skip the prompt with the -adminpassword start option. Two other start options are useful:
-servername NAMEpicks a different server name. It also affects the names of the save files.-nosteamlets players who do not use Steam, such as GOG players, connect.
On Linux, run the server inside screen, so it keeps running after you close the terminal.
Step 3: open the ports
Open these UDP ports on your router and firewall, and forward them to the server machine:
| Port | Default | What it is for |
|---|---|---|
Game port, UDP (DefaultPort) | 16261 | The main game port |
Direct-connection port, UDP (UDPPort) | 16262 | Direct connections from players |
RCON port (RCONPort) | 27015 | Remote admin. Off until you set RCONPassword |
Both game ports can be changed in the server settings, or with the -port and -udpport start options. If RCONPassword is empty, RCON is disabled. Players who cannot connect usually have a closed port.
Step 4: edit your settings
The server creates its settings the first time it runs. On Windows they are in %USERPROFILE%\Zomboid\Server, and on Linux in $HOME/Zomboid/Server. Two files matter:
servertest.iniholds the server options: name, player limit, PvP, mods and ports.servertest_SandboxVars.luaholds the sandbox rules: zombie population, loot and day length.
Edit them while the server is stopped. If you change servertest.ini while the server runs, the admin command reloadoptions applies it.
Step 5: join
Start Project Zomboid, open the multiplayer menu and add your server with its IP and port 16261. When the console shows the server has started, you can join.
What a home server costs you
A server on your own PC only works while the PC is on and your connection is up. Here is how the two routes compare:
| Your own machine | A hosted Project Zomboid server | |
|---|---|---|
| Uptime | Only while your PC is on | Runs without your PC |
| Router | You open and forward the ports | Nothing to configure |
| Network attacks | Your home IP is exposed | DDoS protection on every TheGameHosting plan |
| CPU | The PC you already own | AMD 9950X / 7950X3D, up to 5.7 GHz |
| Cost | Hardware and electricity | From $6.96 USD/month, no slot fees |
Option 2: a hosted Project Zomboid server in 4 steps
- Pick a plan. On our plans, Project Zomboid needs at least 8 GB of RAM, so it runs on six of our nine sizes, from 8 GB at $6.96 USD a month. See Project Zomboid server hosting and the full plan list.
- Choose a location. Dallas, TX suits players in the Americas, and Amsterdam, NL suits Europe.
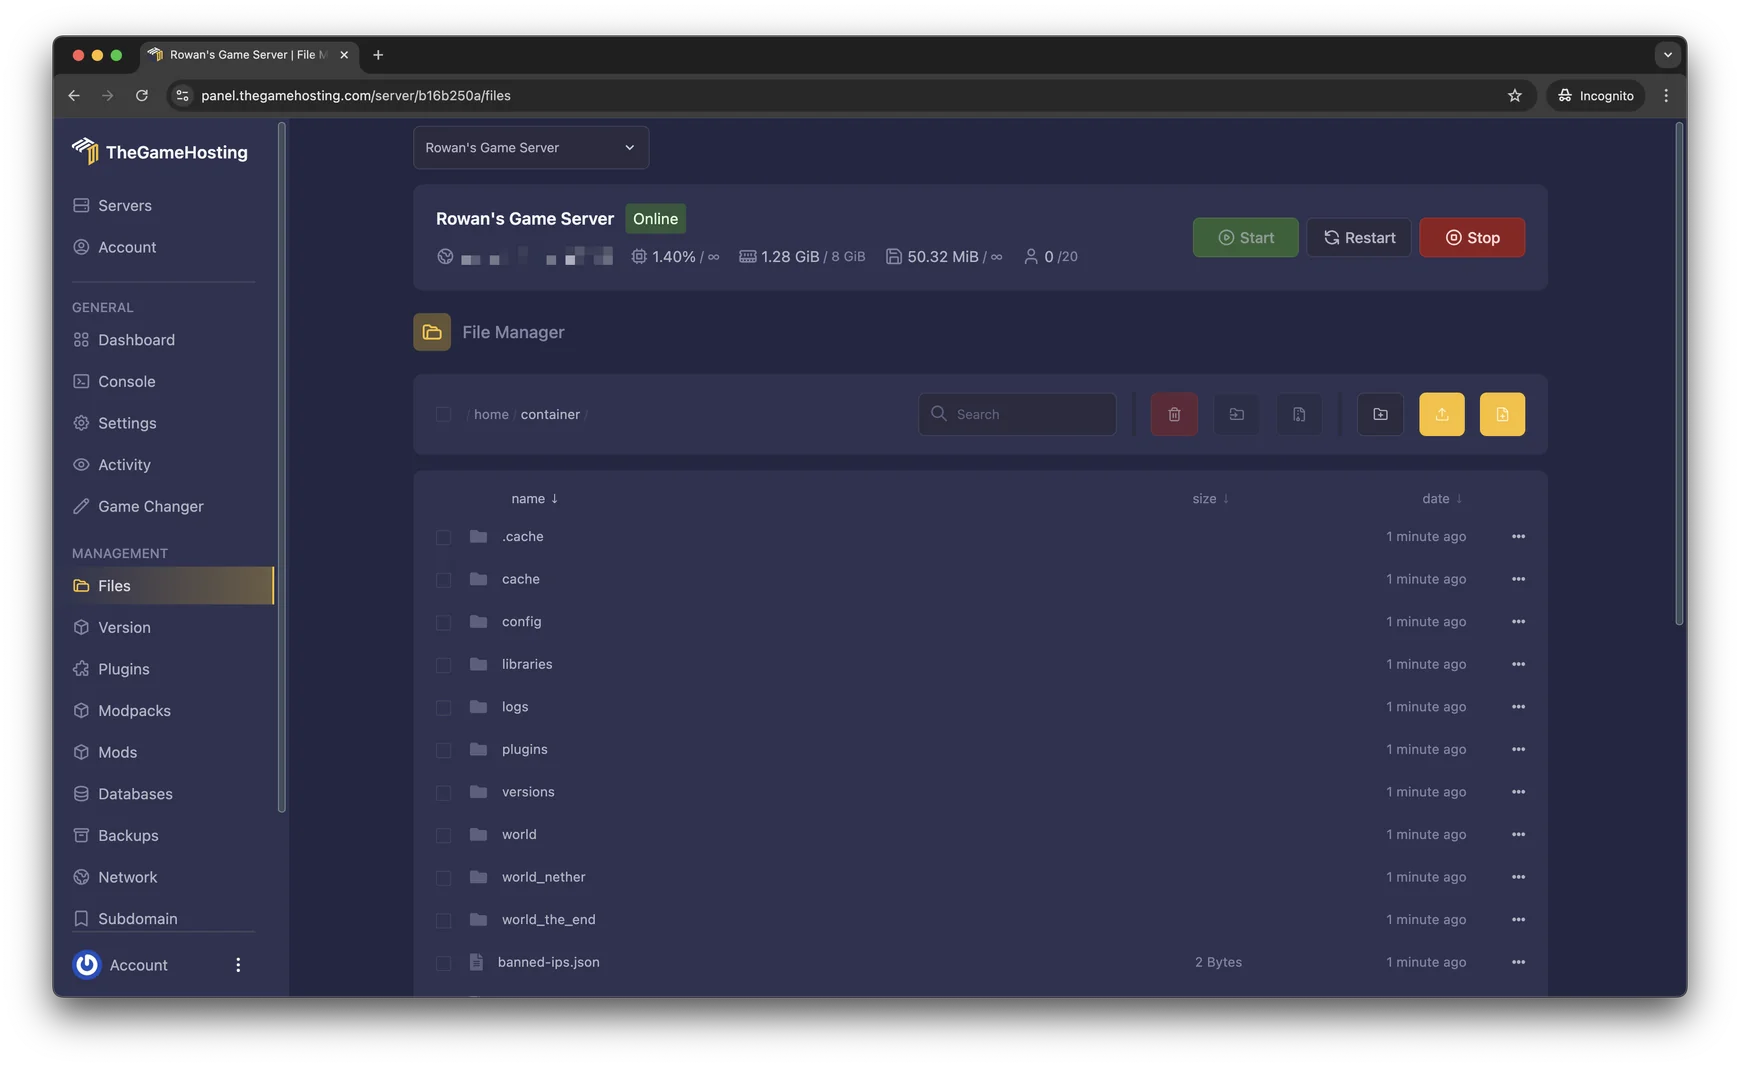
- Start the server. It is ready within 60 seconds after payment. Press Start on the Console page.
- Edit your settings. Open the server
.inifile and the sandbox file in the File Manager, change what you want, and restart. You can also connect over sFTP to upload a big save.
It is the same server software and the same two settings files as Option 1. There are no slot fees, so a duo and a 20-player community pay the same price for the same RAM. If a setting does not behave the way you expect, our support team is available 24/7.
What to do once the server is running
- Make yourself an admin. See Project Zomboid admin commands and how to become admin.
- Add Steam Workshop mods. See how to add mods to a Project Zomboid server.
- Decide who gets in. See how to make a Project Zomboid server private.
- Take a backup before every mod or settings change. Every plan has a Backup System.
FAQ
What is the Project Zomboid dedicated server app ID?
It is 380870. It is a free tool on Steam, and you can install it with SteamCMD using an anonymous login, so you do not need to own the game on the server machine.
Which ports does a Project Zomboid server use?
PZwiki lists UDP 16261 for the main game port and UDP 16262 for direct connections. RCON uses port 27015 and stays off until you set RCONPassword. You can change the game ports in the server settings.
Where are the Project Zomboid server settings files?
In Zomboid/Server in the user's home folder: %USERPROFILE%\Zomboid\Server on Windows and $HOME/Zomboid/Server on Linux. The main files are servertest.ini and servertest_SandboxVars.lua.
How do I set the admin password?
The first time you start the dedicated server, it asks for an admin password. That creates the default admin account. You can also pass the password with the -adminpassword start option.
Do I need to own Project Zomboid to run a dedicated server?
No. The dedicated server is a separate free tool on Steam, and you install it with an anonymous login. Players do need the game to join.
Hosting for this game
Written by TheGameHosting Team, the people who run our servers in Dallas and Amsterdam and answer your tickets.
All posts